
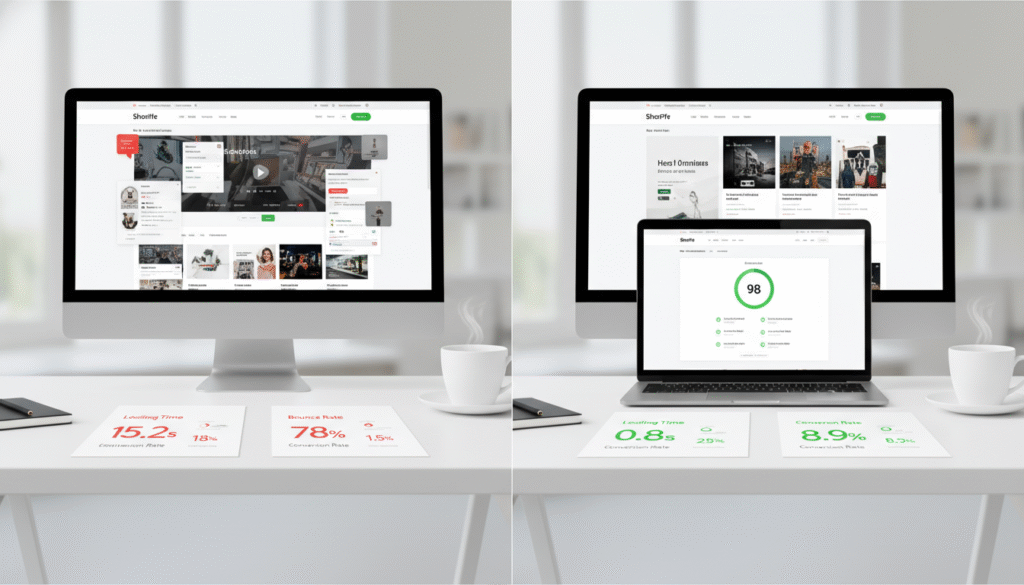
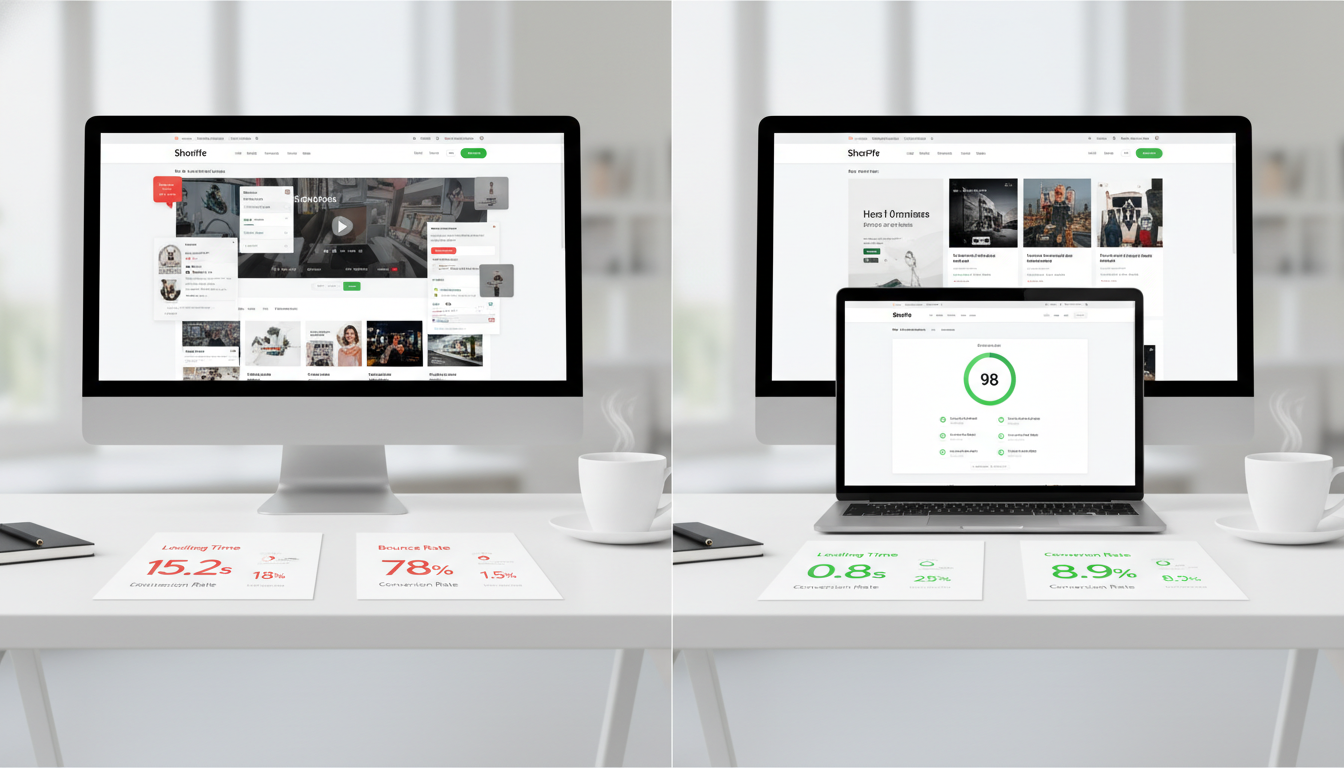
Your Shopify store is losing sales right now — not because your products are bad, but because your pages load too slowly. A one-second delay in page load time reduces conversions by up to 7% (Portent, 2024), and Google’s Core Web Vitals have made Shopify speed optimization a direct ranking factor. If your store’s Largest Contentful Paint (LCP) is above 2.5 seconds, you’re bleeding traffic and revenue simultaneously.
The good news: most Shopify stores are slow for the same fixable reasons — bloated apps, uncompressed images, render-blocking scripts, and poorly configured themes. This guide gives you 13 concrete techniques to address all of them, with exact Shopify Admin paths, tool recommendations, and performance benchmarks to measure your progress.
- Shopify speed optimization directly impacts your Google search rankings via Core Web Vitals (LCP, INP, CLS).
- Image compression and app audits alone can recover 30–50% of lost page speed in most stores.
- Lazy loading, CDN delivery, and critical CSS deferral are the highest-ROI technical fixes available in 2026.
- Google PageSpeed Insights and Shopify’s built-in Speed Report are your two baseline tools — use both.
- A store scoring 70+ on mobile PageSpeed Insights typically sees a measurable lift in add-to-cart rates within 30 days.
Why Shopify Speed Optimization Matters More in 2026
Google’s ranking algorithm now uses real-world Core Web Vitals data from the Chrome User Experience Report (CrUX). That means your store’s actual user experience — not just a lab score — determines where you rank. Over 60% of Shopify traffic comes from mobile devices (Shopify, 2025), and mobile connections are inherently slower, making optimization non-negotiable.
Speed also compounds across every other marketing channel. A paid ad campaign driving traffic to a 5-second landing page wastes your media budget. An email from Klaviyo driving subscribers to a slow product page kills your email ROI. Every dollar you spend on acquisition is discounted by every second your pages take to load.
The Core Web Vitals You Must Hit
- LCP (Largest Contentful Paint): Under 2.5 seconds — measures how fast your main content loads.
- INP (Interaction to Next Paint): Under 200ms — replaced FID in 2024; measures responsiveness to clicks and taps.
- CLS (Cumulative Layout Shift): Under 0.1 — measures visual stability so elements don’t jump around as the page loads.
Shopify Speed Benchmarks: Where Does Your Store Stand?
Before applying any technique, you need a baseline. Run your store through Google PageSpeed Insights (pagespeed.web.dev) and Shopify’s native Speed Report (found at Online Store → Themes → View Report). Then compare your scores against these benchmarks:
| Performance Tier | PageSpeed Score (Mobile) | LCP | INP | CLS | Typical Revenue Impact |
|---|---|---|---|---|---|
| Excellent | 90–100 | < 1.8s | < 100ms | < 0.05 | Baseline (full conversion potential) |
| Good | 70–89 | 1.8s – 2.5s | 100–200ms | 0.05–0.1 | ~3–5% conversion loss vs. Excellent |
| Needs Improvement | 50–69 | 2.5s – 4.0s | 200–500ms | 0.1–0.25 | ~10–15% conversion loss vs. Excellent |
| Poor | 0–49 | > 4.0s | > 500ms | > 0.25 | 20–40%+ conversion loss vs. Excellent |
Most Shopify stores doing $100K–$1M/year score between 40 and 65 on mobile. That’s the “Needs Improvement” tier — meaning you’re almost certainly leaving 10–15% of your potential revenue on the table every single month.
What Is Shopify Speed Optimization?
Shopify speed optimization is the systematic process of reducing the time it takes for your Shopify store’s pages to fully load, render, and become interactive for visitors. It encompasses everything from image compression and script management to theme architecture, third-party app auditing, server-side rendering choices, and CDN configuration.
The distinction from generic web performance work is important: Shopify operates within a constrained environment. You don’t control the server infrastructure — Shopify hosts everything on its global CDN via Fastly. What you do control is the code your theme delivers, the apps you install, and the assets you upload. Shopify speed optimization is specifically the art of maximizing performance within those constraints.
In practice, this means auditing and eliminating unnecessary JavaScript, serving correctly sized images in next-gen formats like WebP and AVIF, deferring non-critical resources, and choosing a theme architecture that doesn’t frontload render-blocking requests. Shopify’s own research shows that a 10% improvement in speed correlates with a 1.1% increase in checkout conversions — and for a store doing $500K/year, that’s an additional $5,500 annually from a single optimization effort.
Speed optimization is not a one-time fix. Every new app you install, every new section you add to a theme, and every new third-party pixel you enable has the potential to degrade performance. Treating it as an ongoing discipline rather than a one-time project is what separates high-performing stores from average ones.
Technique 1: Audit and Remove Unused Shopify Apps
This is the single highest-impact change most stores can make. Every app you install injects JavaScript and CSS into your storefront — even apps you’ve stopped using. The average Shopify store has 6–10 installed apps, and 3–4 of them are no longer actively used (Shopify Partner data, 2025).
To audit your apps, go to Apps → App and sales channel settings in your Shopify Admin. For each app, ask: Is this generating measurable revenue or saving measurable time? If the answer is no, uninstall it — and verify through your theme code that the uninstallation actually removed the scripts.
Use Google PageSpeed Insights’ “Reduce unused JavaScript” diagnostic to identify specific script files being loaded. Cross-reference those file names against your installed apps to identify the culprits.
Technique 2: Compress and Convert Images to WebP/AVIF
Images typically account for 60–80% of a Shopify page’s total weight. Unoptimized product images are the most common cause of high LCP scores. Shopify automatically converts uploaded images to WebP when served through its CDN — but only if you’re using Liquid’s image_url filter correctly in your theme.
Check your theme’s image tags. The correct implementation looks like this: {{ product.featured_image | image_url: width: 800, format: 'webp' }}. If your theme uses older img_url filters or hardcoded image paths, you’re missing the automatic conversion.
For images outside of Shopify’s native handling — hero banners, lifestyle images uploaded as files — use Squoosh (squoosh.app) or TinyPNG to manually compress before uploading. Target under 100KB for product images and under 200KB for hero images. Use the loading="lazy" attribute on all images below the fold.
Technique 3: Enable Lazy Loading for Below-the-Fold Content
Lazy loading tells the browser not to download images and iframes until they’re about to enter the viewport. This dramatically reduces initial page weight and improves LCP because the browser can focus resources on above-the-fold content first.
In your Shopify theme’s Liquid files, add loading="lazy" to any <img> tag that appears below the fold — product grids, related products sections, testimonial images, and blog post thumbnails are the most common candidates. Never apply lazy loading to your hero image or the first product image in a listing — those need to load immediately.
If you’re using a page builder like Shogun or GemPages, check the platform’s native lazy loading settings, as these builders sometimes override your Liquid-level optimizations.
Technique 4: Defer Non-Critical JavaScript
JavaScript is the primary cause of poor INP scores and slow Time to Interactive (TTI). Every script that loads synchronously in your <head> blocks the browser from rendering your page. The fix is deferred and asynchronous loading.
How to Defer Scripts in Shopify
- Open your theme code via Online Store → Themes → Edit Code.
- Navigate to
layout/theme.liquid. - Find third-party script tags (chat widgets, review widgets, analytics pixels).
- Add
deferorasyncattributes to non-critical scripts:<script src="..." defer></script>. - Move non-critical scripts to just before the closing
</body>tag instead of the<head>.
Critical caveat: Never defer scripts that other scripts depend on — like jQuery if your theme uses it — or you’ll break functionality. Test every change in a duplicate theme before pushing to live.
Technique 5: Use a Performance-First Shopify Theme
Your theme is your performance foundation. Heavily featured themes with built-in parallax effects, video backgrounds, and mega-menus often ship with enormous JavaScript bundles that drag down every page score regardless of how well you optimize elsewhere.
The fastest themes in 2026 — based on independent benchmarks from Storetasker and Plug In Useful — include Dawn (Shopify’s official free theme), Sense, and Craft. Dawn, in particular, was purpose-built with Core Web Vitals in mind and consistently scores 85–95 on mobile PageSpeed Insights out of the box.
If you’re attached to a premium theme, use Chrome DevTools’ Coverage tab to identify unused CSS and JavaScript. Removing unused code can reduce theme file size by 30–50% in heavily featured themes.
Technique 6: Optimize Your Shopify Fonts
Custom web fonts are a silent performance killer. Each font family you load — and each weight/style variant within it — adds an HTTP request and contributes to Cumulative Layout Shift if the font swap isn’t handled correctly.
Limit your store to a maximum of two font families and two weights per family (e.g., Regular 400 and Bold 700). In your theme settings (Online Store → Themes → Customize → Typography), choose fonts from Shopify’s system font stack where possible — system fonts like -apple-system and Segoe UI load instantly because they’re already on the user’s device.
If you need a custom font, self-host it as a .woff2 file uploaded to Shopify’s Files section and preload it with: <link rel="preload" href="your-font.woff2" as="font" type="font/woff2" crossorigin> in your theme.liquid.
Technique 7: Implement Critical CSS
Critical CSS is the minimal CSS required to render above-the-fold content. By inlining it directly in the <head> and deferring the rest of your stylesheet, you allow the browser to render the visible page immediately without waiting for a full CSS file download.
Tools like Critical (npm package) or PurgeCSS can extract your critical CSS automatically. In Shopify, inline the extracted CSS in a <style> block in theme.liquid, then load the main stylesheet with a deferred approach using the media="print" trick: <link rel="stylesheet" href="..." media="print" onload="this.media='all'">.
This technique alone can improve your LCP by 300–600ms on mobile connections, according to web.dev benchmarks.
Technique 8: Reduce Third-Party Tag Bloat (Pixels and Tracking Scripts)
Every marketing pixel you fire — Meta Pixel, TikTok Pixel, Google Ads conversion tag, Snapchat Pixel, Pinterest Tag — adds JavaScript that executes on every page. Each third-party tag can add 50–200ms of load time, and stores running 5+ tracking pixels can lose a full second or more to tag overhead alone.
Consolidate all your pixels through Google Tag Manager (GTM), which loads them asynchronously via a single container script. This doesn’t eliminate the overhead entirely but gives you granular control over firing rules — so pixels only fire on the pages where they’re needed.
In Shopify Admin, go to Online Store → Preferences to manage your Google and Facebook pixel integrations. For everything else, use the GTM snippet in your theme. Audit your GTM container quarterly and remove any tags for platforms you’re no longer running ads on.
Technique 9: Optimize Shopify Metafield and App Proxy Calls
Apps that use Shopify’s storefront API or make metafield calls on page load — recommendation engines like Rebuy, review platforms like Okendo, and recently viewed product widgets — can add significant time to your pages if not configured correctly.
Work with each app’s settings to load their widgets after the main page content. Most modern apps offer “async loading” or “lazy widget” options in their dashboards. For Rebuy specifically, their SmartCart widget should be configured to initialize after the DOMContentLoaded event, not before.
For Okendo reviews, load the review widget below the fold and use intersection observer to trigger the API call only when the user scrolls near the reviews section. This reduces the reviews widget’s impact on LCP from ~400ms to near zero.
Technique 10: Preconnect to Critical Third-Party Origins
Your store likely loads resources from multiple external domains — Google Fonts, Meta CDN, Klaviyo, Hotjar. Each new domain requires a DNS lookup, TCP connection, and TLS handshake before a single byte of data transfers. Preconnecting tells the browser to establish those connections early, in parallel.
Add preconnect hints to your theme.liquid <head> for every external domain your store uses:
<link rel="preconnect" href="https://fonts.googleapis.com"><link rel="preconnect" href="https://static.klaviyo.com"><link rel="preconnect" href="https://connect.facebook.net">
Limit preconnect hints to 4–6 critical domains. Preconnecting to too many origins wastes browser resources on connections that may never be used.
Technique 11: Monitor Real User Performance with GA4 and Hotjar
Lab scores from PageSpeed Insights are useful starting points, but real-user monitoring (RUM) tells you how actual customers experience your store. Google Analytics 4 collects Core Web Vitals data from real sessions when configured correctly, and this is the same data Google uses for ranking decisions.
In GA4, navigate to Reports → Tech → Tech Details and segment by “Page” to see LCP and CLS data per URL. Your product pages and collection pages are the highest-priority targets — optimize where your traffic actually lands, not just your homepage.
Hotjar complements this with session recordings and heatmaps that reveal how slow load times affect user behavior. Filter recordings by session duration under 10 seconds to watch how users respond to slow-loading pages — you’ll typically see rage clicks, scroll hesitation, and immediate bounces that correlate directly with your slowest pages.
Technique 12: Audit Your Checkout for Speed
Shopify’s checkout pages are largely outside your control on standard plans, but Shopify Plus merchants can customize checkout via checkout.liquid and Checkout Extensibility. Even on standard Shopify, your checkout speed can be degraded by custom scripts injected through Settings → Checkout → Additional Scripts.
Go to Settings → Checkout → Order status page and audit every script in the Additional Scripts box. Remove post-purchase survey scripts, redundant pixels, and any legacy tracking code that’s been accumulating over the years. Every script here runs at the most critical moment in the purchase journey.
Ensure Shop Pay is enabled (Settings → Payments → Accelerated Checkouts → Shop Pay). Shop Pay’s one-click checkout bypasses the full checkout flow entirely for returning customers, and Shopify reports it converts at 50% higher rates than guest checkout — making it as much a speed optimization as a conversion one.
Technique 13: Test Continuously with PageSpeed Insights and Shopify’s Speed Report
Speed optimization degrades over time. Every app update, theme change, and newly added section can erode the gains you’ve made. Build a monthly testing cadence into your operations.
Monthly Speed Audit Checklist
- Run your homepage, top collection page, and top product page through Google PageSpeed Insights. Record scores in a spreadsheet.
- Check Shopify’s Speed Report at Online Store → Themes → View Report for your store’s relative speed score vs. similar stores.
- Review GA4’s Core Web Vitals data for any pages that have regressed.
- Check for newly installed apps and audit their script injection.
- Run Chrome DevTools Network tab on your slowest page and sort requests by size and time to find new bottlenecks.
Documenting your baseline score before and after each change is the only way to know whether your optimizations are actually working. Speed work without measurement is guesswork.
How to Fix Shopify Speed Issues: A Prioritized Action Plan
Not all speed optimizations deliver equal returns. Here’s how to prioritize your effort based on impact vs. implementation difficulty:
High Impact, Low Effort (Do These First)
- Remove unused apps from Apps → App and sales channel settings.
- Add
loading="lazy"to below-the-fold images in your theme code. - Enable Shop Pay at Settings → Payments → Accelerated Checkouts.
- Switch to a system font stack via Online Store → Themes → Customize → Typography.
High Impact, Medium Effort (Do These Next)
- Compress and re-upload hero images and product images as WebP under 100KB.
- Add
deferattributes to third-party scripts intheme.liquid. - Consolidate tracking pixels into Google Tag Manager.
- Add preconnect hints for critical external domains.
High Impact, Higher Effort (Plan for These)
- Migrate to a performance-first theme (Dawn, Sense, or Craft).
- Implement critical CSS extraction and inline delivery.
- Configure async loading for Rebuy, Okendo, and other API-dependent apps.
Why Does Shopify Speed Slow Down Over Time?
Shopify stores don’t get slow all at once — they degrade gradually, usually through predictable patterns. Understanding the root causes helps you prevent regression, not just fix the immediate problem.
App accumulation is the primary driver. Every app you install leaves JavaScript and CSS on your storefront, and unlike desktop software, uninstalling an app doesn’t always clean up its code. Some apps leave orphaned scripts that continue loading even after the app is removed. This is a structural limitation of how Shopify apps inject code via ScriptTag API, and it requires manual cleanup by reviewing your theme’s layout/theme.liquid and assets/ folder after uninstalling any app.
Theme updates and customizations introduce bloat over time. Every new section added via the theme editor, every marketing banner, and every embedded video adds weight. The theme that scored 85 when you launched may score 55 two years later after dozens of incremental changes.
Image discipline erodes as teams grow. A solo founder uploading compressed images is often replaced by a team where different people upload assets with wildly different file sizes. A single 8MB hero image upload can tank your homepage score overnight. Establish an image upload standard — WebP format, under 100KB for product images, under 300KB for hero images — and enforce it as a documented process.
Third-party script creep follows every new marketing channel you open. Each new ad platform you test requires a pixel. Each new tool in your stack requires a tracking snippet. Without a centralized management system like Google Tag Manager, these accumulate in your theme’s <head> and run on every page load.
The compounding effect of these four forces means a store that starts at a 90 PageSpeed score can realistically drop to 55 within 18 months without active maintenance. Scheduled quarterly audits using PageSpeed Insights and Shopify’s built-in Speed Report prevent this drift before it affects your rankings and conversion rates.
How to Prevent Shopify Speed Regression Long-Term
Prevention is more efficient than repeated remediation. The stores that consistently maintain 80+ mobile PageSpeed scores do so because speed is embedded into their operating processes, not treated as a periodic cleanup project.
The most effective prevention framework has four components:
1. Establish an App Approval Process
Before installing any new Shopify app, evaluate its performance cost. Install it on a duplicate theme, run PageSpeed Insights before and after, and only proceed if the score impact is under 3 points. Many apps can be replaced with native Shopify features or lightweight custom code that has zero ongoing performance overhead.
2. Create Image Upload Standards
Document and distribute a one-page image upload guide to everyone on your team who touches the Shopify Admin. Specify maximum file sizes (100KB product images, 200KB lifestyle images), required format (WebP or JPEG), and minimum dimension standards (800px wide for product images on standard product pages). Use Squoosh as your team’s standard compression tool — it’s free, browser-based, and produces consistent results.
3. Schedule Monthly Speed Checks
Add a recurring monthly task to audit your top 5 traffic pages through Google PageSpeed Insights. Record scores in a shared spreadsheet with date stamps. When a score drops more than 5 points month-over-month, investigate immediately — a new app or image upload is almost always the cause, and catching it early means a 15-minute fix rather than a 3-hour debugging session.
4. Use Shopify’s Theme Inspector
Shopify’s Theme Inspector for Chrome (available as a Chrome extension) visualizes exactly how long each Liquid template, section, and snippet takes to render on the server side. If a new section is adding 200ms+ of server render time, you’ll see it immediately in the flame chart. This tool is underused by most merchants and dramatically speeds up identifying the cause of performance regressions after theme changes.
Combining these four practices creates a self-reinforcing system where speed problems are caught within days of introduction, not months. That discipline is what separates stores with consistently high PageSpeed scores from those perpetually stuck in remediation cycles.
The Business Case: What Speed Gains Actually Mean for Revenue
Abstract performance metrics matter when they translate to concrete revenue. Here’s how to calculate the revenue impact of speed improvements on your specific store:
Take your monthly revenue, your current conversion rate (found in Shopify Admin under Analytics → Overview), and your current PageSpeed mobile score. For every 100ms improvement in LCP, research from Milliseconds Make Millions (Deloitte, 2024) shows a 0.4% increase in conversion rate on mobile.
For a store doing $200K/month at a 2.5% conversion rate, a 500ms LCP improvement translates to a 2% relative increase in conversions — that’s an additional $4,000/month in revenue from speed optimization alone, with no increase in ad spend.
Speed optimization also compounds with your SEO. Faster pages rank higher, which drives more organic traffic, which generates more revenue without incremental cost. The ROI calculation for speed work consistently outperforms almost every other single investment a Shopify merchant can make — including new app installs, which often do the opposite.
The 13 techniques in this guide address every major speed problem in the Shopify ecosystem as it exists in 2026. Start with the high-impact, low-effort fixes — app audits, lazy loading, Shop Pay enablement — and work methodically through the list. Run PageSpeed Insights before and after each change to build a clear record of what’s working. Within 30 days of systematic execution, a store in the “Needs Improvement” tier can realistically reach “Good,” and that movement translates directly into more organic traffic, lower bounce rates, and a higher percentage of visitors completing their purchase.